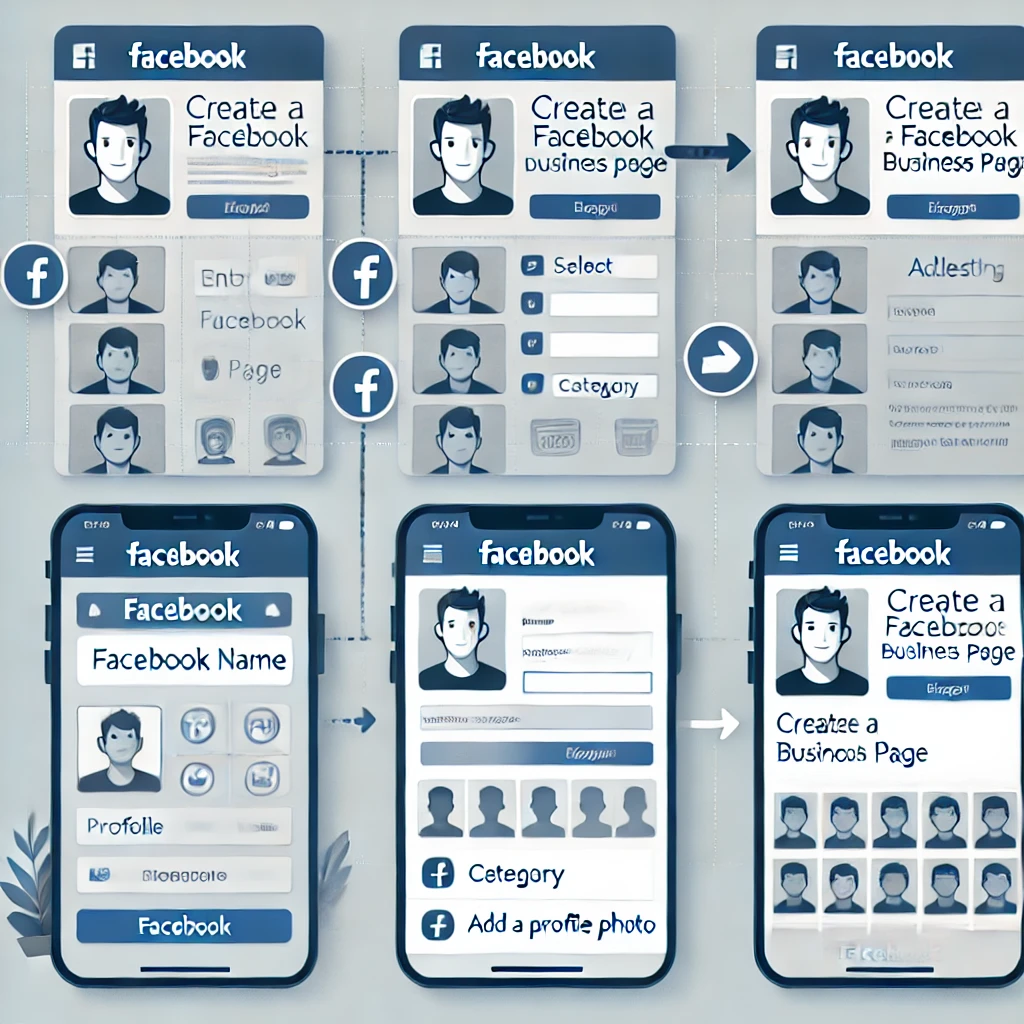
How to Create a Facebook Business Page: Your Ultimate Guide

Facebook remains one of the top platforms for businesses to connect with audiences, build brand loyalty, and drive sales. Creating a Facebook Business Page is the first step toward establishing your business’s presence on this platform. This guide will walk you through each step, from setup to optimization, ensuring your Facebook Business Page is ready to engage and grow your audience effectively.
Step 1: Log in to Your Personal Facebook Account
To create a Facebook Business Page, you’ll need a personal Facebook account. Facebook uses this personal account for administrative access to your business page but does not link your personal profile to the business publicly. Log in to Facebook and get ready to begin the setup process.
Step 2: Go to Facebook’s Business Page Creation
Once logged in, click on the “Pages” tab from the left-hand menu on your News Feed. This will lead you to the Pages section, where you’ll see an option to “Create New Page.” Click on it to start the process of setting up your business page.
Step 3: Enter Your Page Name, Category, and Description
After you click “Create New Page,” you’ll need to fill out the basic information:
- Page Name: This should be your business name or a name people can easily recognize.
- Category: Choose the category that best represents your business. Facebook will provide options based on your entry, such as “Restaurant,” “Retail Company,” or “Service Provider.”
- Description: Write a brief description that explains what your business does. Keep it concise and focused on your unique value proposition.
Step 4: Add Profile and Cover Photos
Your profile picture and cover photo are important visual elements for your Facebook Business Page:
- Profile Picture: Typically, businesses use their logo as the profile picture. Make sure the image is clear, sized at 170×170 pixels for best quality.
- Cover Photo: This image sits at the top of your page and should be visually engaging. Use an image that represents your brand or showcases your services, sized at 820×312 pixels.
Step 5: Complete Your Page Info
Under the “Edit Page Info” section, fill in additional details to help potential customers find and understand your business:
- Contact Information: Add your phone number, email address, and website URL.
- Location: If you have a physical store, add your business address.
- Hours of Operation: Specify your business hours, whether you’re open 24/7, closed on weekends, or open on specific days.
Step 6: Customize Your Call-to-Action Button
Facebook allows you to add a Call-to-Action (CTA) button on your page. This button encourages visitors to interact with your business directly. Choose from options like “Book Now,” “Contact Us,” “Sign Up,” or “Shop Now” based on your business goals. Customize it to guide users toward meaningful actions on your page.
Step 7: Add a Username for Your Page
Setting a unique username for your Facebook Business Page helps people find your page more easily. To do this, click on “Create @username” below your page’s name. Choose a username that reflects your brand and is easy for users to remember.
Step 8: Set Up Messaging and Notifications
Facebook’s messaging feature allows visitors to send you direct messages. To manage these effectively:
- Enable Messaging: Go to your Page Settings and ensure messaging is enabled.
- Set Up Instant Replies: You can create automated responses for frequently asked questions or greetings.
- Customize Notifications: Adjust notification settings so you’re promptly alerted about messages, comments, and likes.
Step 9: Publish Your First Post
Before inviting followers, post engaging content that reflects your brand. Examples of initial posts include:
- A welcome message introducing your business.
- Information about your products or services.
- A showcase of any current promotions or special events.
This sets the tone for your page and gives visitors something to engage with when they first arrive.
Step 10: Invite Friends and Promote Your Page
Once your page is set up, invite your Facebook friends to like your page. You can also promote your page through your website, email newsletter, or other social channels. Facebook offers paid promotion options if you’re looking to reach a wider audience quickly.
Step 11: Monitor and Optimize Your Page
Now that your page is live, keep track of its performance through Facebook Insights. This tool provides data on visitor interactions, post engagement, and audience demographics. Use these insights to refine your content strategy and engage with your audience more effectively.
Conclusion
Creating a Facebook Business Page is a powerful step toward building your brand’s online presence. By following these steps, you can establish a professional and engaging page that attracts and retains customers. Remember to post regularly, engage with followers, and optimize your page based on insights. With time, your Facebook Business Page can become a central part of your marketing strategy.
FAQ
Do I need a personal Facebook account to create a business page?
Yes, Facebook requires a personal account to create and manage a business page. However, your personal profile information will remain private from visitors to your business page.
Is it free to create a Facebook Business Page?
Yes, creating a Facebook Business Page is free. However, you may choose to invest in paid advertising to promote your page and increase visibility.
Can I delete my Facebook Business Page if I no longer need it?
Yes, you can delete your Facebook Business Page at any time. Go to your page’s settings and select “Remove Page.” Facebook will ask you to confirm before permanently deleting the page.
How often should I post on my Facebook Business Page?
For consistent engagement, aim to post at least 1-2 times per week. Quality is more important than quantity, so focus on sharing valuable and relevant content.

One thought on “How to Create a Facebook Business Page: Your Ultimate Guide”
Comments are closed.